Let’s get started by downloading the free Metamask app from the apple app or android play store. Once installed we’ll need to set up your wallet. Make a note of any important information and remember to store it in a safe and secure place.
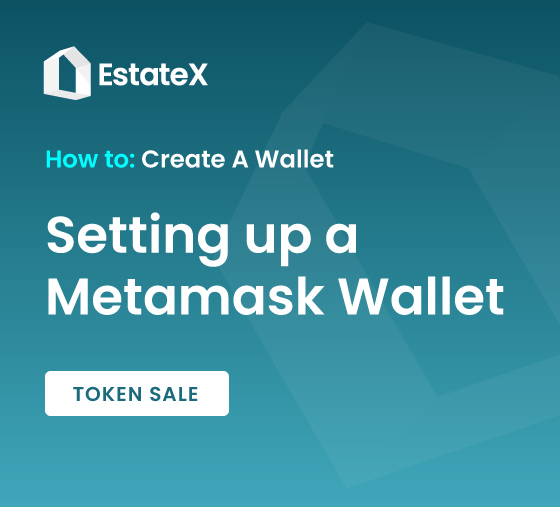
Setting Up Your MetaMask Wallet
- Start by creating a new wallet.
- Accept or disagree with analytics
- Create a strong password
- If you have a compatible iPhone you can set up face i.d recognition
- Remember to accept the terms and conditions & then click continue.
The Secret Recovery Phrase is the key to accessing your wallet. This is a combination of words and their order is unique to your wallet. Keep it safe and don’t share it with anyone. Make a note of your Secret Recovery Phrase.
Configuring Your Wallet
Next, we’ll have to configure your wallet to run on the Binance smart chain network. You will need to do this in order to complete your KYC and accept ESX coins into your wallet. You can visit the link provided to find out more.
- Begin by going to your Metamask Setting and then Networking Settings
- Next tap on the Add Network button to add a new network. If you have the link open in your browser, simply copy the on-screen information and paste them into the relevant fields.
- Tap add and you’re done
- Now to access your wallet address simply tap receive and then copy your wallet address below the QR code
Find out how to Buy the ESX Token in our next How To Guide here